
I love seeing DIY projects, but not necessarily doing them if that means I have to buy lots of random materials and tools (if you want me to invest in a rotary cutter, I really gotta use it!). Basically, I’ll only do it if it’s really easy. Yep, I am the lazy, every-woman Martha.
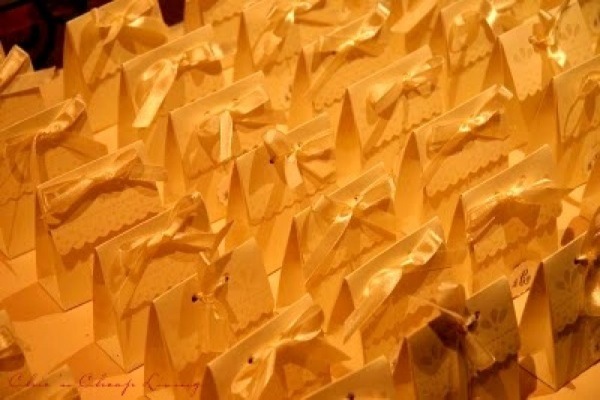
You may recall that I mentioned using these lovely but painstakingly tedious to assemble ivory boxes with scalloped edges as favor boxes for my NYC wedding (thanks dear brother for bringing them from Shanghai!).
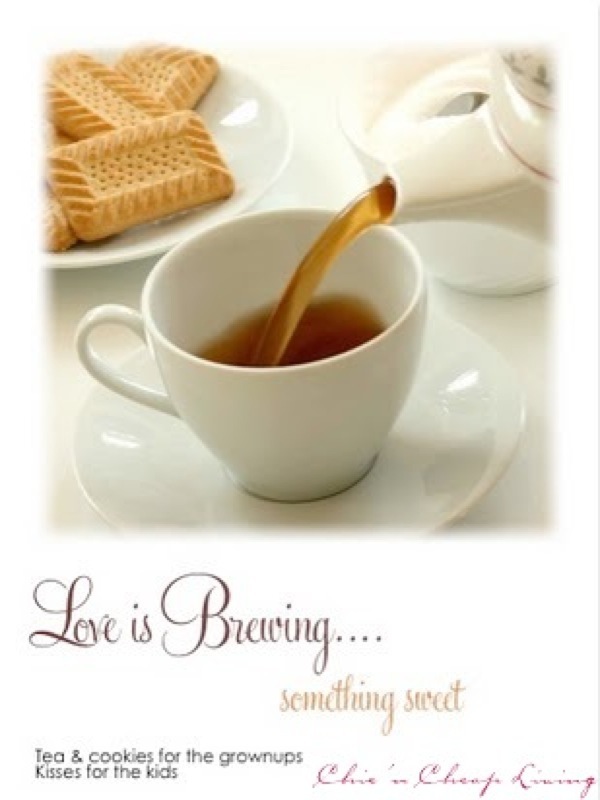
We filled these with homemade pumpkin cookies and pyramid tea bags (recipe here). We displayed this sign to note to our guests to open and consume the favors fairly quickly (my funny new aunt thought this was a signal to take 8 boxes so she could really throw down on some cookies).
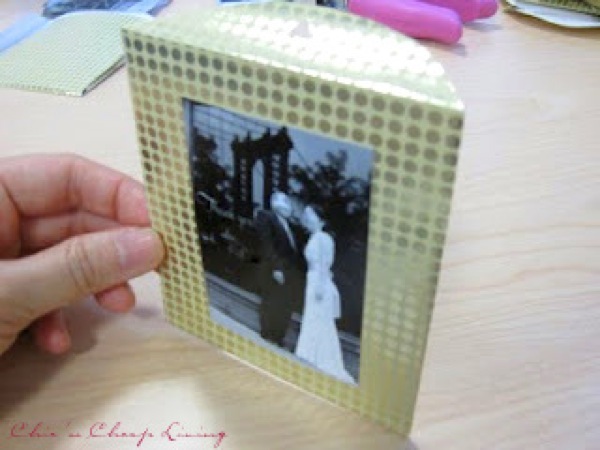
I wanted to do something similar for our Taiwanese reception and I like sharing cookies. Taiwanese people don’t usually give weddings favors but they are familiar with giving and receiving lucky (red) envelopes. I was inspired by some fun gold wrapping paper, which was still lucky and in our color scheme, and lack of suitable cardstock (oh I missed you Michael‘s). My mom also suggested including pictures of us with a London or NYC background so we included 2″ x 4″ pictures of us with the Brooklyn Bridge reflected in the background.

Picture tip:
Kodak picture machines are great for reprinting pictures in a variety of sizes, especially smaller sizes. Note some photo shops may not have the machines to print sizes other than passport size.
So here were my materials:
- wrapping paper (could also use cardstock but then would need a bone folder as well).
- sharp scissors (fabric scissors rock)
- cardboard (cardstock would be great)
- glue stick – a STRONG one
- pictures
- heart hole puncher
1. I designed a template in PowerPoint including at least 1″ of give on each side (more if the contents are bulky).
2. I printed and glued the template to cardboard and cut the shape out.
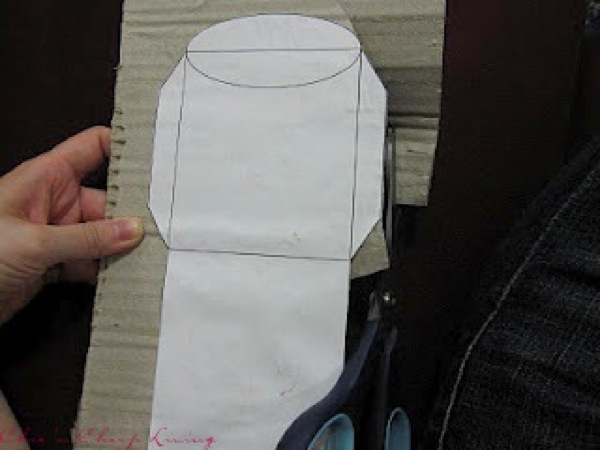
3. I used this stencil to cut out the shape from the wrapping paper (note: you can cut multiple sheets but hold them tightly together or they will be misaligned)
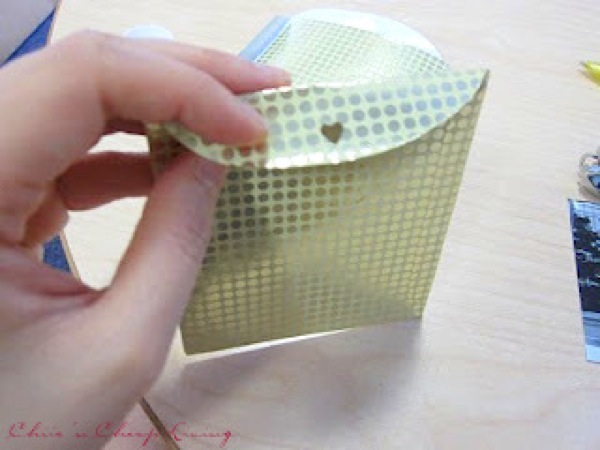
4. I folded and glued the seams.
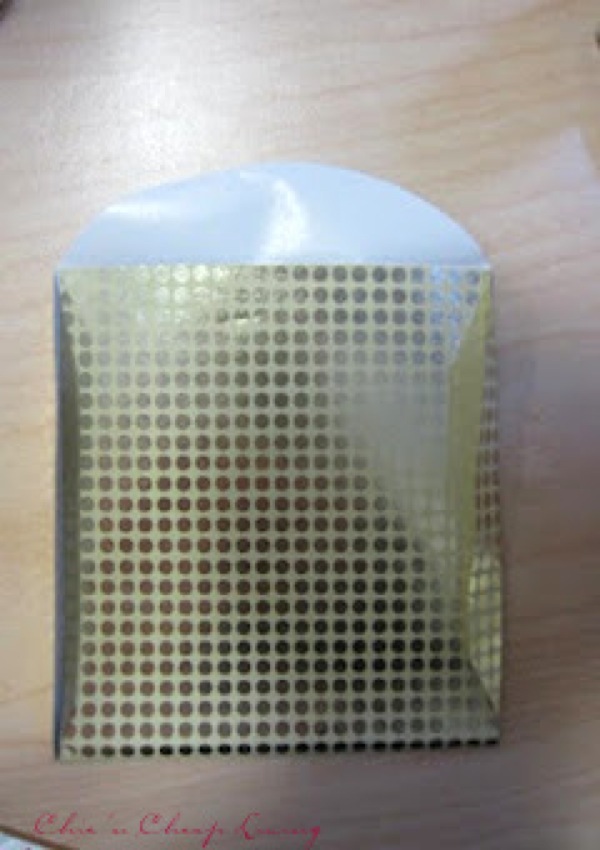
5. I glued the pictures to the front of the envelopes.
6. I punched the heart shape on the top of the envelopes. I was going to use ribbon to tie the envelopes but couldn’t find any. I still liked the heart shape though!
There we go!
Definitely use strong glue because my poor aunt and brother had to reglue my pictures and seams because the cookies kept on popping out (also why you should incorporate a decent amount of give in the envelope template). But DIY envelopes are good for a variety of flat objects you may want to include.


Aw. This is such a lovely idea. I’m sending this on to my sister who just got engaged and probably will start thinking about ideas 🙂
They look great! 🙂
Those look so good! Yum – pumpkin cookies!!! I love all things pumpkin, especially cookies.
great job with the diy. i love the use of wrapping paper in leiu of cardstock, the design is way fun and shiny! and the little heart cut out and photo add a great touch 🙂
I love this! You did an awesome job! How did the guests react to them?
what a great idea! i love them!!! and that picture is amazing right near the bridge! your dress is killer! have fun in Madrid 🙂
Wow, what an awesome and easy DIY project! Love your dress btw. 😀 I am also a lazy, every-woman Martha. Hee hee.
Great idea and I love that you include your pic in the envelopes.
So pretty. Those little photos are adorable!
love those first envelopes! great idea
-Erica
http://allaboutitt.blogspot.com/
those pumpkin cookies sound delish. thanks for sharing!!
What a fabulous DIY. It turned out great! Check out BonBon today. You’re a winner!
Pretty! I bet it was a lot of work though!
This is such a great DIY! Thanks for the tutorial.
Wow, those look awesome. You’re not lazy….just efficient! That’s what I like to say about myself. 😉